It is no surprise that Facebook is an active and growing social platform with many users (over 1.59 billion users to be exact). For that reason, small businesses continue to use the social site to increase their brand awareness, grow email lists, and more. Now, the “and more” means e-commerce. Businesses can now sell products right from their Facebook page, leveraging current page reach and engagement.
Why Sell on Facebook?
A Completely Integrated Experience
Users spend an average of 40 minutes on Facebook each day commenting, liking, and viewing status updates.
“If time is money, then the Facebook.com site represents the most valuable Internet property on the web today,” according to analysts from Needham.
You’ve worked hard to get your customers to interact with your Facebook page for a small amount of those 40 minutes, so why stop at posts and comments? While customers are online viewing your page, let them browse your products and purchase quickly. What could be better than buying a shirt from your favorite store, commenting on your friends birthday photos and catching up on the news all while browsing Facebook?
Built for Mobile
Over half a billion users are using Facebook on their phones – that means your store needs a mobile-optimized experience. Facebook, like SnapRetail, designed the new Shop page with mobile users in mind, making it easier than ever to shop and purchase.
Easy to Create
The last reason you should be selling on Facebook? It’s easy! For those looking to expand into a new revenue source, Facebook is a perfect fit. Even if you already have an e-commerce store setup, you can expand your reach into a new area.
Now that we’ve made the case for why you should sell on Facebook, let’s look at how easy it is to get started.
How to Sell on Facebook
Select to Add a Shop Section
First, make sure that you have a business page for your small business. If not, navigate to the Create a Page section of Facebook. Then, on your business page select the “Add Shop Section” feature, accept the terms of service, and finish setting up your store information.
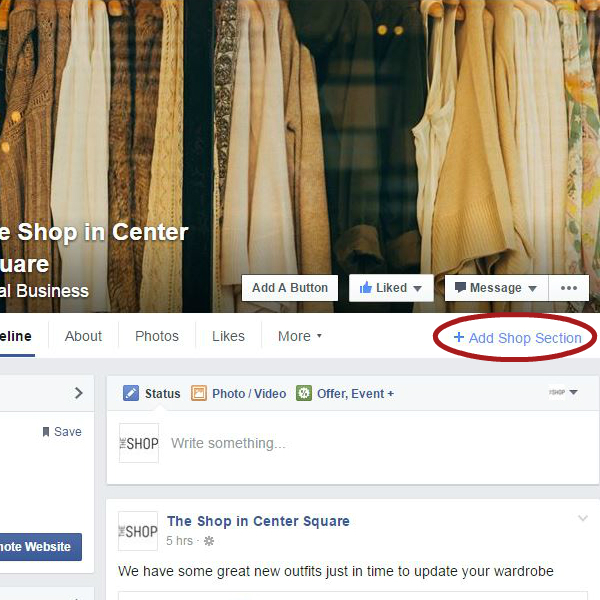
Step 1
Add Shop Section to your Facebook Business account
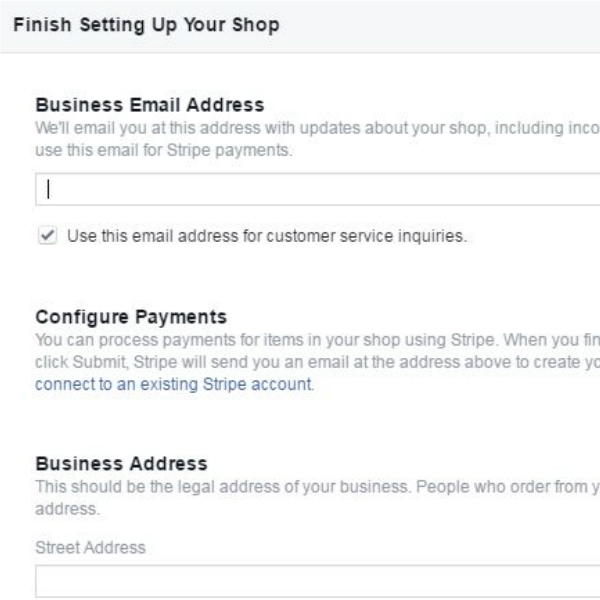
Step 2
Enter your small business information
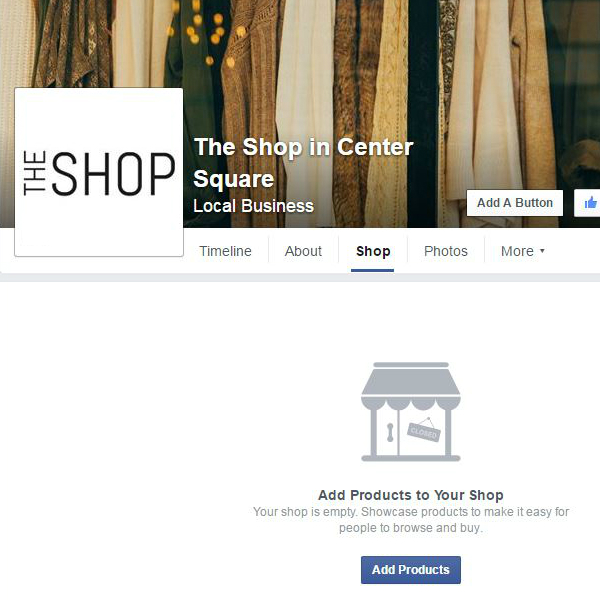
Step 3
Add products to your new store!
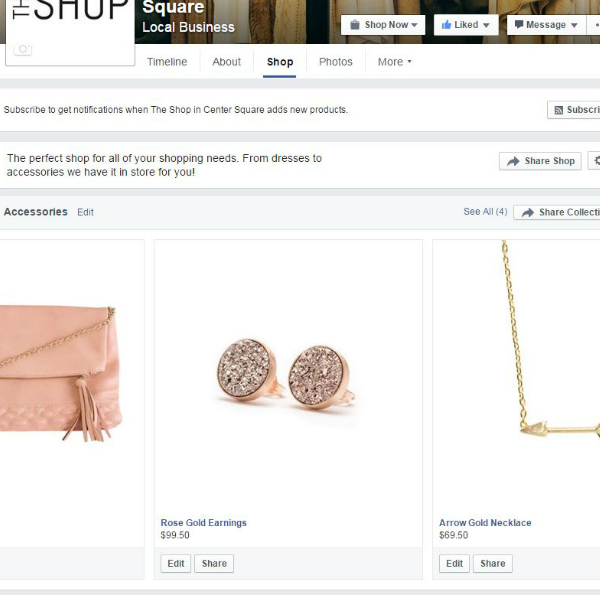
Add Your Products
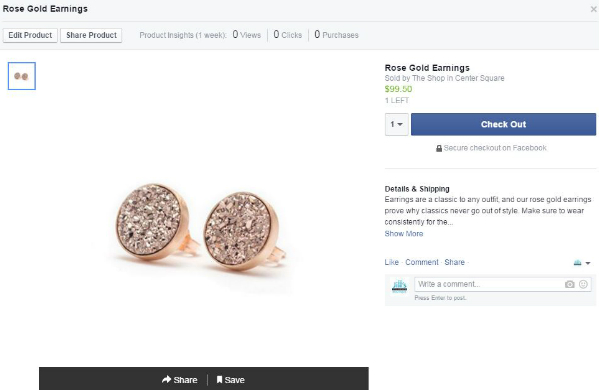
Now, open your Shop section to start adding products. Here you’ll be given the option to add product images, names, descriptions, price, inventory, variants, and shipping options. Any tax information can be edited in the “Advanced Options” section if applicable.
Starting out for the first time? Make sure to start small. While it sounds like a great idea to flood the page with every item your store offers, remember that customers will have to scroll through each one. You do want product exposure, yes, but start by adding your most purchased products to the store. From there, see how your customers respond. Do they prefer lower priced items? Do they only purchase one item or several? After some feedback, you can start to add other products to maximize your conversions and sales.
Develop Collections
While showing all of your products at once gives customers an idea of all you have to offer, it can be overwhelming. To help organize your store, Facebook lets you quickly create product collections. Use these collections to organize your store and feature specific items. For example, showcase your newly added items, clearance items, and more.
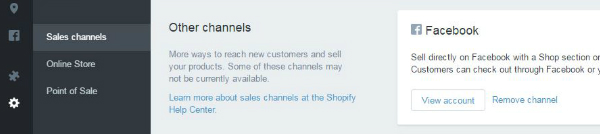
Using Shopify to Publish Your Store
So far we’ve given you details on creating a new Facebook store from scratch. But, what if you currently using Shopify to sell online? If so, you can take your store to Facebook with a single click. Log into your Shopify account and select “Settings.” Next, select the “Sales Channels” section. Here you’ll be able to choose Facebook from the “Other Channels” area to activate. After accepting their terms of service, Shopify will automatically push your products to Facebook. Simple. Easy.
Now, go out there and find a new revenue source by selling on Facebook! Let us know your thoughts, success stories, and ideas!


Leave A Comment